Tangy Dill Pickle Pasta Salad Recipe – Your New Favorite
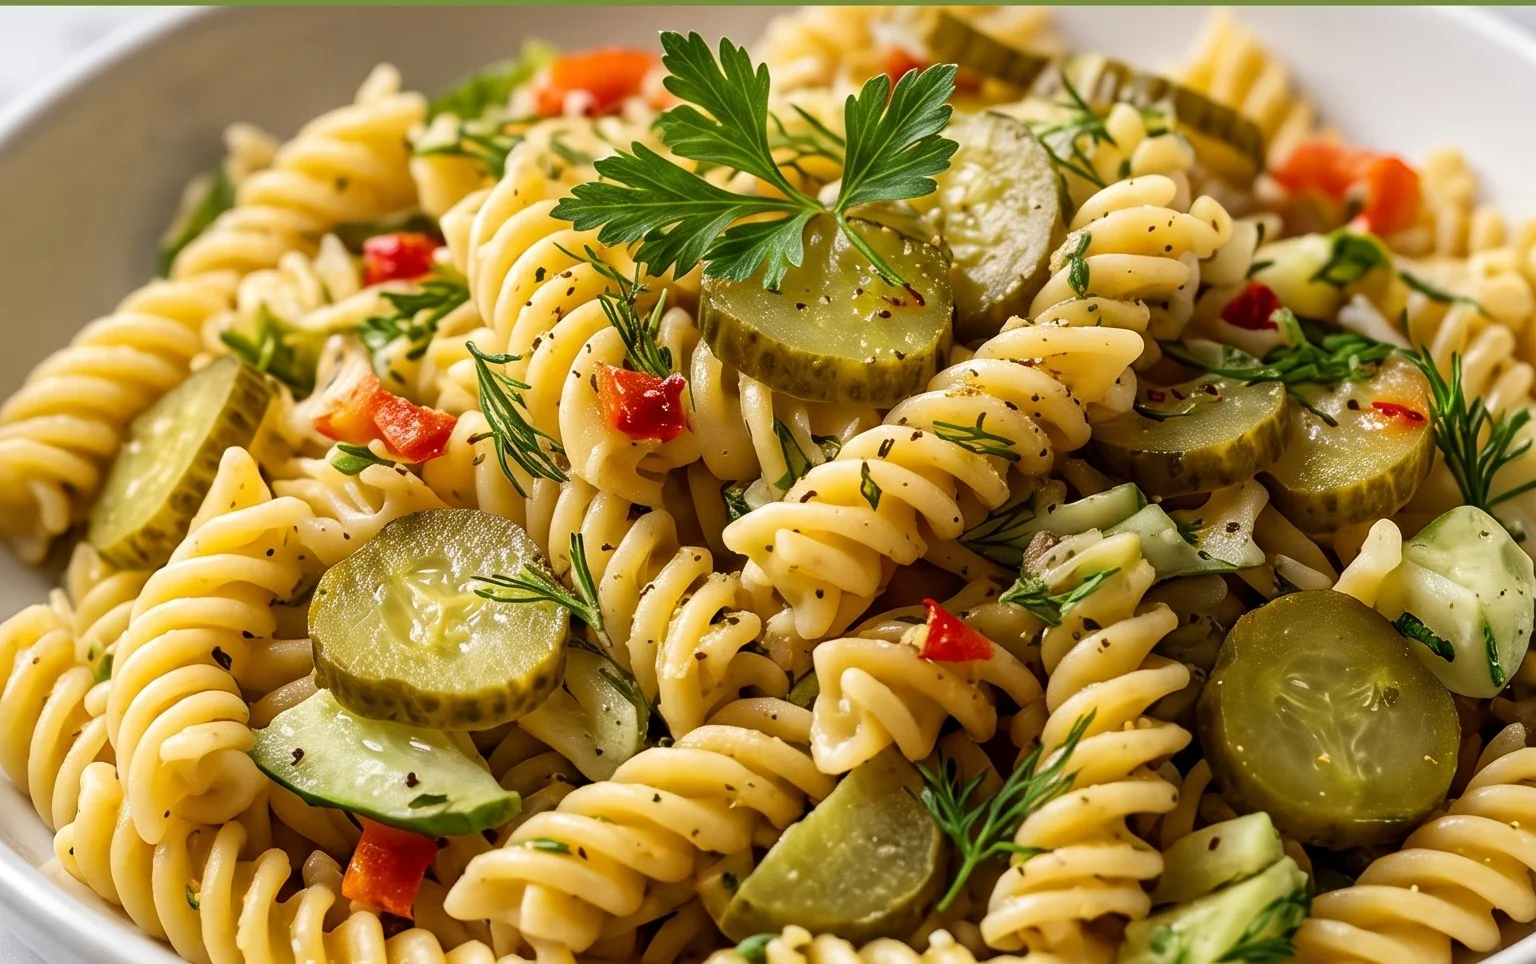
Dill Pickle Pasta Salad is more than just a side dish; it’s a flavor revelation that has taken my summer gatherings by storm. If you’re anything like me, you probably have a special place in your heart for that tangy, briny goodness of dill pickles. Well, imagine that irresistible flavor bursting from every bite of a creamy, satisfying pasta salad – that’s precisely what this recipe delivers. It’s the perfect balance of textures and tastes, with tender pasta coated in a luscious dressing, studded with crisp celery, sharp red onion, and of course, plenty of chopped dill pickles. It’s that surprising yet utterly addictive combination that makes this Dill Pickle Pasta Salad a guaranteed crowd-pleaser, a potluck hero, and my go-to for picnics and barbecues. Get ready to discover your new favorite pasta salad!

Dill Pickle Pasta Salad: A Tangy Twist on a Classic
Get ready to pucker up, because this Dill Pickle Pasta Salad is about to become your new favorite side dish! If you’re a pickle lover, you’re going to adore the bright, tangy, and savory flavors packed into every bite. It’s a refreshing departure from the usual pasta salad, bringing a zesty punch that’s perfect for barbecues, potlucks, or just a delightful lunch. This recipe is incredibly straightforward, making it a fantastic option for busy weeknights or when you need a crowd-pleasing dish in a hurry. The secret is in the balance of creamy, tangy, and savory elements, all harmoniously brought together by that unmistakable dill pickle flavor. Let’s dive in and create this deliciousness!
Ingredients:
- 1 box (16 oz) rotini pasta
- 1/3 cup dill pickle juice (from the pickle jar)
- 2 cups chopped baby dill pickles
- 1 block (8 oz) Colby Jack cheese (cubed small)
- 1 small white onion (finely chopped)
- 1 cup mayonnaise
- 1/2 cup sour cream
- 1/3 cup dill pickle juice (from the pickle jar)
- 2 tablespoons chopped fresh dill (or 1 tablespoon dried dill)
- 1/4 teaspoon salt
- 1/4 teaspoon pepper
Let’s Get Cooking!
This pasta salad comes together in a few simple stages, starting with cooking the pasta to perfection. We want our pasta to have a nice al dente bite, which means it should be tender but still have a slight firmness when you bite into it. Overcooked pasta can become mushy, and nobody wants that in a pasta salad!
Step 1: Cook the Pasta and Infuse with Flavor
Begin by bringing a large pot of generously salted water to a rolling boil over high heat. Add your 1 box (16 oz) of rotini pasta. Stir the pasta occasionally to prevent it from sticking together. Cook the rotini according to the package directions until it reaches that perfect al dente stage. While the pasta is cooking, prepare a large bowl for draining and cooling. Once the pasta is cooked, drain it thoroughly in a colander. Immediately after draining, transfer the hot pasta back into the empty pot or into your prepared bowl. Here’s a crucial step for infusing flavor: pour 1/3 cup of dill pickle juice over the hot, drained pasta. Toss the pasta gently to coat it evenly. The heat from the pasta will help absorb the pickle juice, giving each strand a delicious base flavor. Let the pasta cool completely at room temperature, or speed up the process by placing it in the refrigerator for about 30 minutes. Cooling the pasta is essential to prevent the mayonnaise-based dressing from becoming greasy or separated.
Step 2: Prepare the Creamy Dressing
While the pasta is cooling, it’s time to whip up the luscious dressing that brings everything together. In a medium-sized mixing bowl, combine 1 cup of mayonnaise with 1/2 cup of sour cream. The sour cream adds a wonderful tanginess and creamy texture that complements the mayonnaise beautifully. To this creamy base, add the remaining 1/3 cup of dill pickle juice. This second addition of pickle juice is key to amplifying that dill pickle flavor we’re aiming for. Next, stir in 2 tablespoons of chopped fresh dill. If you don’t have fresh dill on hand, you can certainly use 1 tablespoon of dried dill, but fresh will offer a brighter, more vibrant taste. Season the dressing with 1/4 teaspoon of salt and 1/4 teaspoon of pepper. Whisk all the ingredients together until the dressing is smooth and well combined. Taste and adjust seasoning if needed – you might want a little more salt or pepper depending on your preference.
Step 3: Combine the Stars of the Show
Once your pasta has cooled down significantly, it’s time to bring all the ingredients together. In a large mixing bowl, add the cooled rotini pasta. To this, add 2 cups of chopped baby dill pickles. Make sure your pickles are chopped into bite-sized pieces so you get a good distribution of pickle in every forkful. Next, add 1 block (8 oz) of Colby Jack cheese, cubed into small, manageable pieces. The Colby Jack cheese adds a mild, creamy, and slightly sharp flavor that pairs wonderfully with the dill and pickle. Finally, add 1 small white onion, finely chopped. It’s important to chop the onion very finely so that its flavor is distributed evenly and it doesn’t overpower the other ingredients. If you’re not a fan of raw onion or find it too strong, you can lightly sauté the onion before adding it, or omit it entirely.
Step 4: The Grand Assembly and Chill
Now for the exciting part – bringing the dressing and the salad ingredients together! Pour the prepared creamy dill pickle dressing over the pasta, pickles, cheese, and onion in the large mixing bowl. Gently fold everything together using a rubber spatula or large spoon. Be sure to mix thoroughly but carefully, ensuring that all the ingredients are evenly coated with the dressing without mashing the pasta or cheese. You want to see that beautiful creamy coating on every component. Once everything is well combined, cover the bowl tightly with plastic wrap or transfer the pasta salad to an airtight container.
Step 5: Let the Flavors Meld
This Dill Pickle Pasta Salad truly shines after it has had a chance to chill in the refrigerator. This allows all the flavors to meld together beautifully and for the pasta to absorb even more of that delicious dressing. Aim to chill the salad for at least 2 hours, but overnight is even better. Before serving, give the pasta salad a gentle stir. You might find that it has thickened slightly; if so, you can stir in a tablespoon or two of extra mayonnaise or a splash of milk to loosen it up to your desired consistency. Serve cold and enjoy the incredible, tangy, and satisfying taste of your homemade Dill Pickle Pasta Salad! It’s a guaranteed hit!
Conclusion:
There you have it – a recipe for a truly sensational Dill Pickle Pasta Salad! This dish is a fantastic option for potlucks, picnics, barbecues, or even just a simple weeknight meal. Its delightful tangy flavor, paired with the satisfying chew of the pasta and the crispness of the pickles, creates a symphony of textures and tastes that is incredibly moreish. It’s incredibly simple to whip up, making it a go-to for busy individuals who still crave homemade goodness. I’m confident you’ll find this Dill Pickle Pasta Salad a refreshing and surprisingly addictive addition to your culinary repertoire.
This versatile salad is perfect served chilled on a warm day. It’s a standout on any buffet table and a wonderful accompaniment to grilled meats, sandwiches, or even as a light lunch on its own. Don’t be afraid to get creative with variations! You could easily add cooked chicken or chickpeas for extra protein, or stir in some finely diced red onion for an added bite. Some chopped fresh dill can also elevate the herbaciousness. I truly encourage you to give this recipe a try; you won’t be disappointed!
Frequently Asked Questions:
Can I make this pasta salad ahead of time?
Absolutely! This Dill Pickle Pasta Salad actually benefits from being made a few hours in advance, or even the day before. This allows the flavors to meld together beautifully, resulting in an even more delicious dish. Just be sure to store it in an airtight container in the refrigerator.
What kind of pasta is best for this salad?
While you can use almost any short pasta shape that holds dressing well, rotini, farfalle (bow-tie), or elbow macaroni are excellent choices. They have nooks and crannies that are perfect for capturing all the flavorful dressing and bits of pickle.
How long will this pasta salad last in the refrigerator?
When stored properly in an airtight container, this Dill Pickle Pasta Salad should stay fresh and delicious for about 3-4 days. The pickles help preserve it slightly, but it’s best enjoyed within that timeframe for optimal flavor and texture.
Dill Pickle Pasta Salad
A tangy and refreshing pasta salad featuring dill pickles, Colby Jack cheese, and a creamy dressing.
Ingredients
-
1 box (16 oz) rotini pasta
-
1/3 cup dill pickle juice (from the pickle jar)
-
2 cups chopped baby dill pickles
-
1 block (8 oz) Colby Jack cheese (cubed small)
-
1 small white onion (finely chopped)
-
1 cup mayonnaise
-
1/2 cup sour cream
-
1/3 cup dill pickle juice (from the pickle jar)
-
2 tablespoons chopped fresh dill
-
1/4 teaspoon salt
-
1/4 teaspoon pepper
Instructions
-
Step 1
Cook rotini pasta according to package directions. Drain and rinse with cold water. -
Step 2
In a large bowl, combine the cooked and drained pasta, chopped dill pickles, cubed Colby Jack cheese, and finely chopped white onion. -
Step 3
In a separate medium bowl, whisk together the mayonnaise, sour cream, 1/3 cup dill pickle juice, chopped fresh dill, salt, and pepper until smooth. -
Step 4
Pour the dressing over the pasta mixture and toss gently to coat all ingredients evenly. -
Step 5
Cover the bowl and refrigerate for at least 30 minutes before serving to allow the flavors to meld. -
Step 6
Stir the salad again before serving.
Important Information
Nutrition Facts (Per Serving)
It is important to consider this information as approximate and not to use it as definitive health advice.
Allergy Information
Please check ingredients for potential allergens and consult a health professional if in doubt.


