Healthy Vegan Gluten-Free Kit Kat Recipe
Healthy Kit Kat Recipe (Gluten Free, Vegan): You read that right! We’re talking about a guilt-free indulgence that transports you back to childhood without the sugar crash or the digestive upset. Who doesn’t love the satisfying crunch and sweet, creamy filling of a classic Kit Kat? For years, I’ve craved that iconic treat, but as someone navigating gluten sensitivities and embracing a vegan lifestyle, it felt like a distant memory. That’s why I was so determined to create a Healthy Kit Kat Recipe (Gluten Free, Vegan) that not only mimics the original’s deliciousness but surpasses it in terms of wholesome ingredients. This isn’t just a dessert; it’s a revelation. Imagine layers of crisp, homemade wafer biscuits enveloped in rich, dairy-free chocolate, all crafted with ingredients you can feel good about. This Healthy Kit Kat Recipe (Gluten Free, Vegan) is perfect for parties, a special treat, or simply when that sweet craving hits and you want something truly satisfying and nourishing.
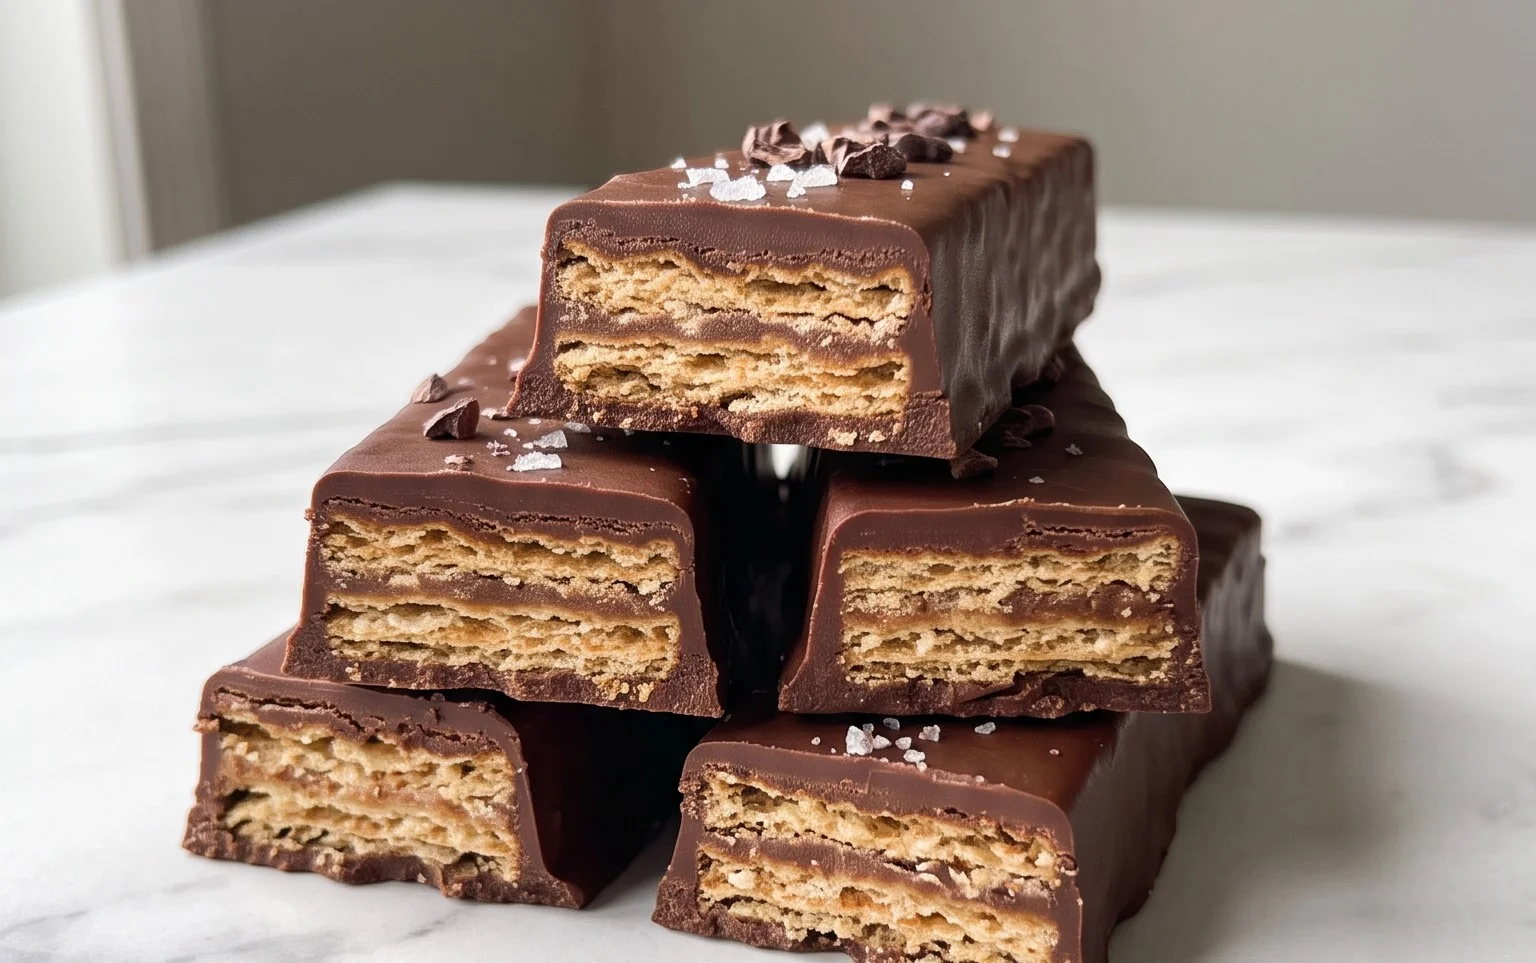
The Ultimate Healthy Kit Kat Recipe (Gluten Free, Vegan)
As someone who absolutely adores the satisfying crunch and creamy chocolate of a classic Kit Kat, I was on a mission to create a healthier, guilt-free version. It needed to be gluten-free and vegan, of course, but most importantly, it had to deliver that iconic flavor and texture. After much experimentation, I’m thrilled to share this recipe that not only meets but exceeds my expectations. It’s surprisingly simple to make and perfect for satisfying those sweet cravings without the refined sugar and allergens. Get ready to impress yourself and your loved ones with these delicious homemade treats!
Ingredients:
- 1 1/4 cup blanched almond flour (or tigernut flour) (115g)
- 3 Tbsp coconut sugar
- 1 Tbsp ground flax
- 1/8 tsp salt
- 3 Tbsp melted coconut oil
- 1 Tbsp water
- 1 tsp vanilla extract
- 2 Tbsp dark chocolate
- 3 Tbsp peanut butter (or Sunbutter)
- 1 cup dark chocolate (5oz)
- 1/2 Tbsp coconut oil
Instructions:
Creating the “Wafer” Layers
This is where we build the base of our healthy Kit Kats. The combination of almond flour, coconut sugar, and flax creates a surprisingly firm yet slightly crumbly texture that mimics the wafer.
- In a medium bowl, whisk together the blanched almond flour, coconut sugar, ground flax, and salt. Make sure these dry ingredients are thoroughly combined. The coconut sugar will provide a subtle sweetness and a lovely caramel-like undertone, while the flax acts as a binder, crucial for holding everything together in a gluten-free and vegan recipe.
- Add the melted coconut oil, water, and vanilla extract to the dry ingredients. Mix everything together until a cohesive dough forms. It might seem a little crumbly at first, but keep mixing. If it feels too dry and won’t come together, you can add an extra teaspoon of water, but be careful not to make it too wet. You’re looking for a dough that you can press together and holds its shape.
- Line a small baking sheet or a container (approximately 6×6 inches) with parchment paper, ensuring there’s some overhang to easily lift the baked “wafer.” Press the dough evenly into the lined container, creating a flat layer about 1/4 inch thick. You can use your fingers or the back of a spoon to smooth the surface. This evenness is important for achieving uniform “wafer” pieces later.
- Bake the almond flour mixture in a preheated oven at 300°F (150°C) for about 15-20 minutes, or until the edges are lightly golden and the surface feels firm to the touch. It shouldn’t be browned, but just cooked through. Once baked, let it cool completely in the pan. It will become more brittle and easy to handle as it cools. This cooling process is essential before you attempt to cut it.
Assembling the Kit Kat Bars
Now for the fun part: layering the “wafer” and the chocolatey goodness!
- Once the baked almond flour layer is completely cool, carefully lift it out of the pan using the parchment paper. Place it on a cutting board. Using a sharp knife, cut the “wafer” into rectangular bar shapes, roughly the size of a traditional Kit Kat finger. You should aim to get at least 8-10 “fingers” from this batch.
- In a small bowl, combine the 2 tablespoons of dark chocolate and the 3 tablespoons of peanut butter (or Sunbutter). Microwave in 30-second intervals, stirring in between, until the chocolate is melted and the mixture is smooth and well combined. This creates a rich, gooey filling that mimics the creamy center of a Kit Kat. If you’re using Sunbutter, the color will be lighter, but the taste is a fantastic alternative for those with peanut allergies.
- Spread a thin, even layer of this peanut butter-chocolate mixture onto one side of each “wafer” piece. Be generous but try to keep it within the boundaries of the wafer so it doesn’t ooze out too much.
The Chocolate Coating and Final Chill
The final chocolate coating is what truly transforms these into delicious Kit Kat replicas.
- In a heatproof bowl set over a saucepan of simmering water (or in the microwave in 30-second intervals, stirring frequently), melt the 1 cup of dark chocolate with the 1/2 tablespoon of coconut oil. Stir until the chocolate is completely smooth and glossy. The coconut oil helps to thin the chocolate slightly, making it easier to coat the bars and giving them a nice sheen when set.
- Working one at a time, dip each “wafer” piece, coated side down, into the melted chocolate. Ensure it’s fully coated. You can use a fork to help lift and drip off any excess chocolate. Place the chocolate-coated bars onto a clean sheet of parchment paper. If you want to be extra fancy, you can drizzle some extra melted chocolate over the tops for decoration.
- Once all the bars are coated, place the parchment-lined sheet into the refrigerator to allow the chocolate to set completely. This will take at least 30 minutes to an hour, depending on your refrigerator’s temperature. Once the chocolate is firm, your healthy, gluten-free, and vegan Kit Kats are ready to be enjoyed! Store them in an airtight container in the refrigerator.
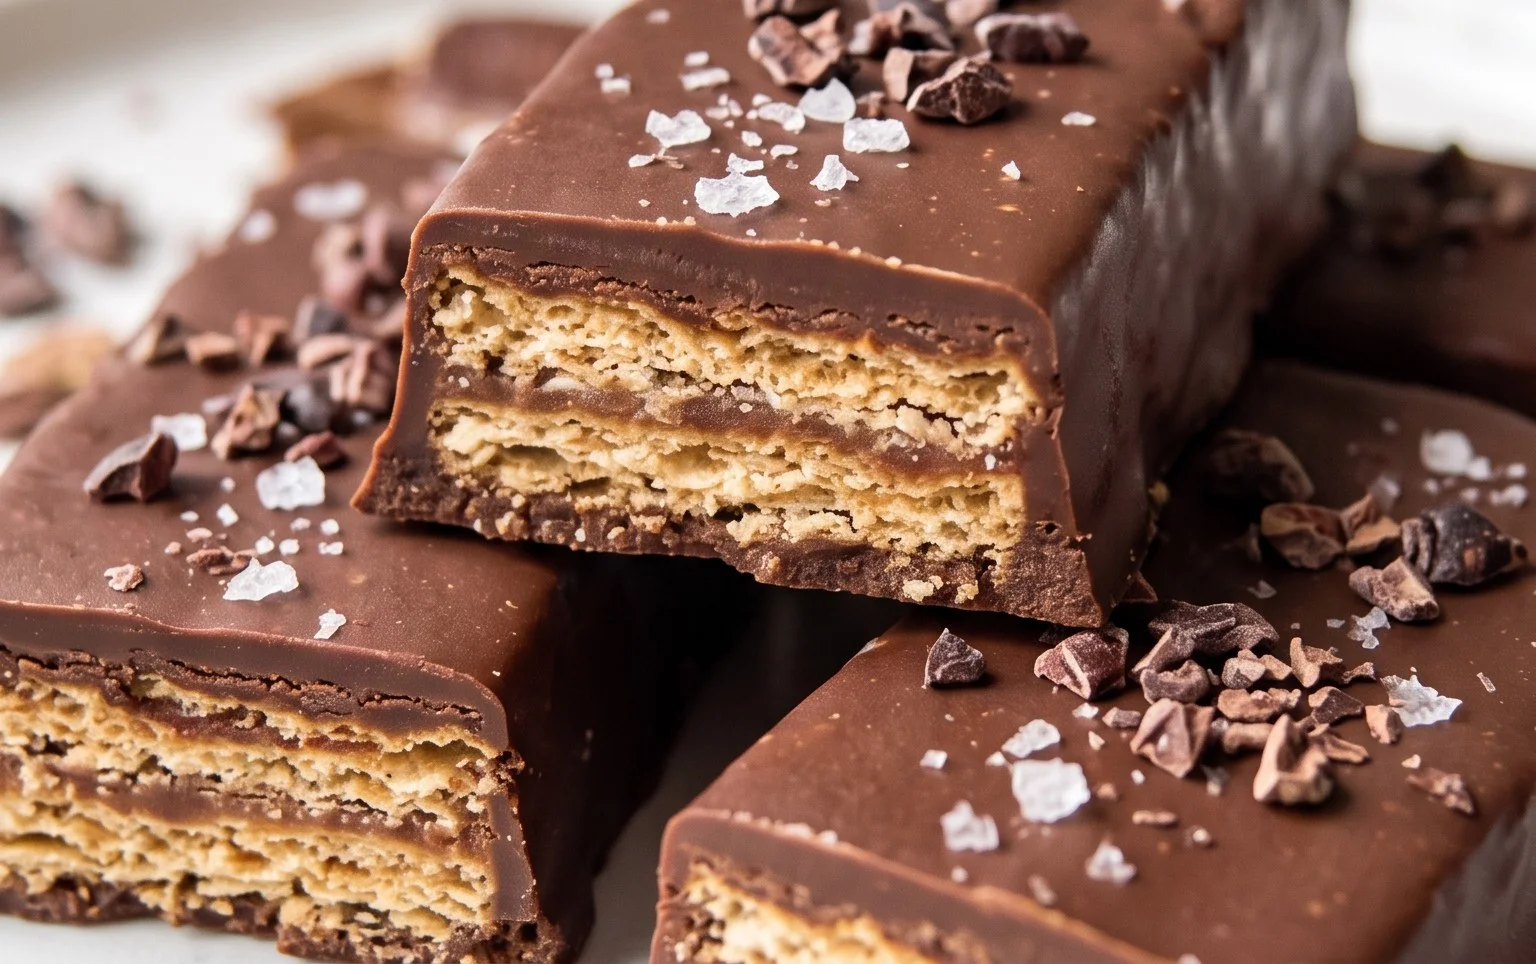
These homemade healthy Kit Kats are a delightful treat that will satisfy your sweet tooth and your desire for something a little bit special. Enjoy the crispy, chocolatey goodness!
Conclusion:
I’m so excited for you to try this Healthy Kit Kat Recipe! It truly is a game-changer for anyone craving that iconic crispy wafer and chocolatey goodness without the gluten or animal products. It’s a fantastic way to enjoy a beloved treat with ingredients you can feel good about. The combination of the delicate, crunchy homemade wafer layers and the rich, decadent chocolate coating is simply divine. This recipe is perfect for satisfying sweet cravings guilt-free, making it an ideal dessert or afternoon pick-me-up.
For serving, these homemade Kit Kats are wonderful on their own, but they also make a stunning addition to a dessert platter or a beautiful garnish for ice cream or vegan cakes. Imagine the delight on your guests’ faces when you present these homemade delights! For variations, feel free to experiment with different types of dairy-free chocolate – dark, milk, or even white chocolate chips can be used. You could also sprinkle some chopped nuts or vegan sprinkles on top of the chocolate before it sets for extra texture and visual appeal.
I wholeheartedly encourage you to give this recipe a go. It’s a rewarding baking project that delivers incredible results, proving that healthy, inclusive treats can be just as delicious, if not more so, than their traditional counterparts. Don’t be intimidated; the steps are straightforward, and the outcome is so worth it!
FAQs:
Why is this recipe considered “healthy”?
This Healthy Kit Kat Recipe is considered healthy because it avoids refined sugars, gluten, and animal products typically found in conventional Kit Kats. We use wholesome ingredients like gluten-free flours and natural sweeteners, and the chocolate coating is dairy-free, making it suitable for various dietary needs while still delivering on taste.
Can I make the wafers softer or chewier?
The goal of this recipe is to mimic the crispiness of a traditional Kit Kat wafer. To achieve this, it’s important to bake them until golden brown and slightly firm. While you can slightly reduce the baking time to achieve a touch less crispiness, a significantly softer or chewier wafer might not provide the desired textural experience of a Kit Kat. However, the chocolate coating provides a lovely soft contrast.
How should I store these homemade Kit Kats?
Once fully set, store your delicious homemade Kit Kats in an airtight container at room temperature. They should remain fresh and delicious for up to a week. If your kitchen tends to be very warm, you might consider storing them in the refrigerator, although this can sometimes cause the chocolate to bloom slightly. Ensure they are completely cooled before sealing the container to prevent condensation.
Healthy Kit Kat Recipe (Gluten Free, Vegan)
A healthier, homemade vegan and gluten-free version of the classic Kit Kat bar.
Ingredients
-
1 1/4 cup blanched almond flour
-
3 Tbsp coconut sugar
-
1 Tbsp ground flax
-
1/8 tsp salt
-
3 Tbsp melted coconut oil
-
1 Tbsp water
-
1 tsp vanilla extract
-
2 Tbsp dark chocolate
-
3 Tbsp peanut butter
-
1 cup dark chocolate
-
1/2 Tbsp coconut oil
Instructions
-
Step 1
In a bowl, combine blanched almond flour, coconut sugar, ground flax, and salt. Stir to combine. -
Step 2
Add melted coconut oil, water, and vanilla extract. Mix until a dough forms. -
Step 3
Press the dough into a parchment-lined loaf pan or small baking dish, about 1/2 inch thick. Place in the freezer for 10-15 minutes to firm up. -
Step 4
Melt 2 Tbsp dark chocolate with 3 Tbsp peanut butter and 1/2 Tbsp coconut oil in a double boiler or microwave until smooth. Spread this mixture evenly over the chilled dough base. -
Step 5
Return the pan to the freezer for another 10 minutes to set the peanut butter layer. -
Step 6
Melt the remaining 1 cup dark chocolate with 1/2 Tbsp coconut oil until smooth. -
Step 7
Once set, cut the base into bar shapes. Dip each bar into the melted dark chocolate, ensuring it’s fully coated. Place on parchment paper to set. -
Step 8
Once the chocolate has hardened, store the bars in an airtight container in the refrigerator.
Important Information
Nutrition Facts (Per Serving)
It is important to consider this information as approximate and not to use it as definitive health advice.
Allergy Information
Please check ingredients for potential allergens and consult a health professional if in doubt.


